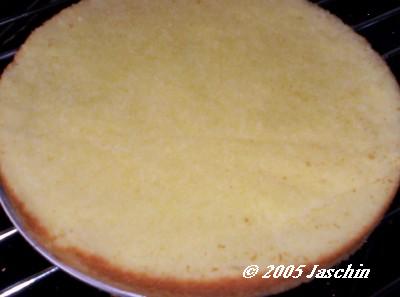
Japanese Cotton Sponge Cake
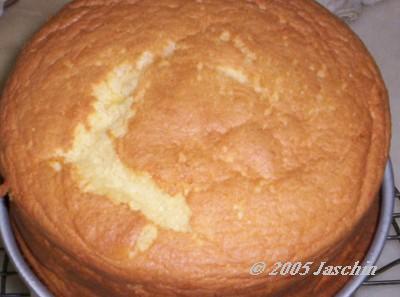
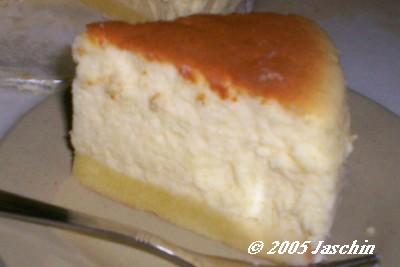
Made Japanese Cotton Sponge Cake today. One of the sponge cake recipe from “Alex Goh cookbook”. On the book it already stated this cake is very difficult to prepare and yet I still tries it out. Rather disappointed the sponge cakes I made always had a heavy bottom but the top is okay. I wonder what went wrong, I’m sure I had whisked my egg white stiff enough.
Though I had a heavy bottom cake but the top is okay. The cake is very nice to eat, moist and soft in texture.


Japanese Cotton Sponge Cake
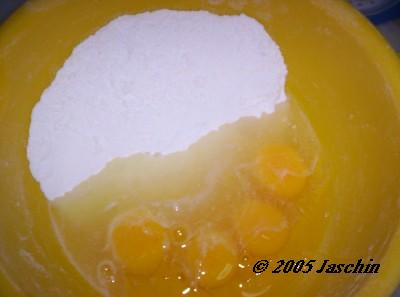
(A)
60g butter
(B)
80g flour
(C)
80ml evaporated milk
(D)
1 egg
5 egg yolks
(E)
5 egg whites
120g sugar
Pinch of salt
Method:
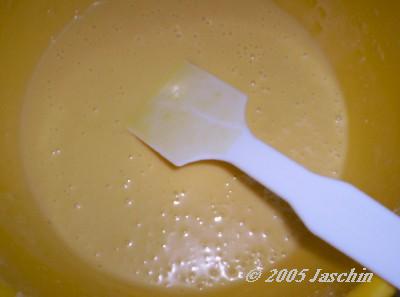
1. Melt (A) and add into (B) and mix till well blended.
2. Add in (C) and mix well combined.
3. Add in (D) and mix till we blended.
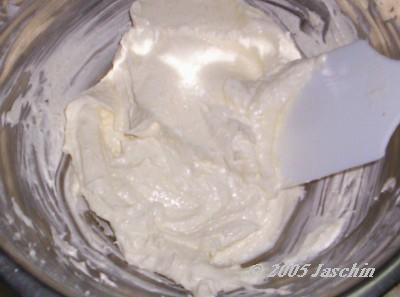
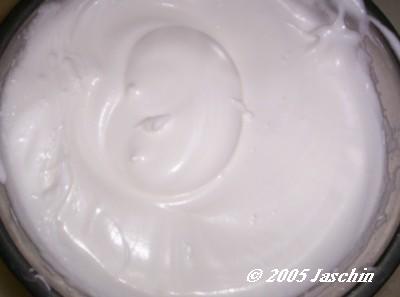
4. Whisk the egg whites from (E) till foamy and add in the sugar and salt. Continue whisk till stiff.
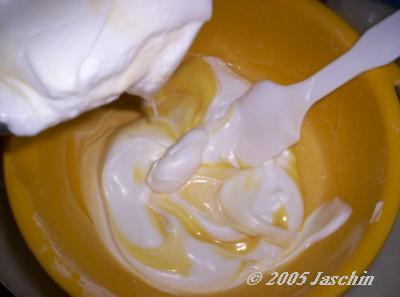
5. Mix egg whites mixture to the egg yolk mixture till well incorporated.
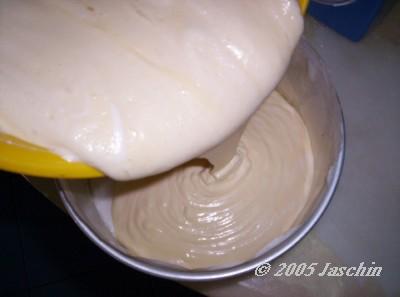
6. Pour mixture onto the swiss roll pan (15 x 10 x ¼ inches) fully lined with paper.
7. Bake at 170C on the middle rack for 25 minutes.
8. Remove the mould immediately when it baked. Set aside to cool
9. Cut into 2 portion and sandwich together with butter cream.
Note:
I did not use swiss pan, cause I don’t have the swiss pan. So I use a normal 7” round mould. And the baking time increase by 10 – 15 minutes.
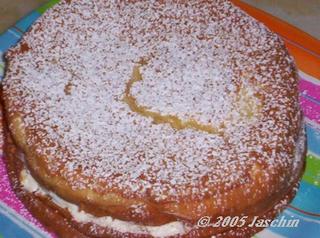

Though I had a heavy bottom cake but the top is okay. The cake is very nice to eat, moist and soft in texture.
.jpg)
.jpg)
Japanese Cotton Sponge Cake
(A)
60g butter
(B)
80g flour
(C)
80ml evaporated milk
(D)
1 egg
5 egg yolks
(E)
5 egg whites
120g sugar
Pinch of salt
Method:
1. Melt (A) and add into (B) and mix till well blended.
2. Add in (C) and mix well combined.
3. Add in (D) and mix till we blended.
4. Whisk the egg whites from (E) till foamy and add in the sugar and salt. Continue whisk till stiff.
5. Mix egg whites mixture to the egg yolk mixture till well incorporated.
6. Pour mixture onto the swiss roll pan (15 x 10 x ¼ inches) fully lined with paper.
7. Bake at 170C on the middle rack for 25 minutes.
8. Remove the mould immediately when it baked. Set aside to cool
9. Cut into 2 portion and sandwich together with butter cream.
Note:
I did not use swiss pan, cause I don’t have the swiss pan. So I use a normal 7” round mould. And the baking time increase by 10 – 15 minutes.
.jpg)
.jpg)
posted by Jasmine Riko at 9/23/2005 07:03:00 PM
12 comments
![]()
.jpg)
1.jpg)


%20jas.jpg)


